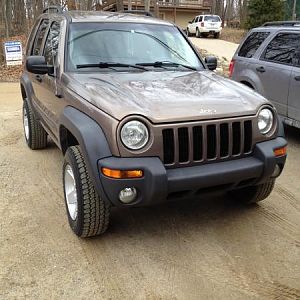
Happy Saturday. Seen some posts on bump stops but pictures were lacking. And YouTube only has the fronts. Here are some photos for ease for anyone in the future so you can confidently do it! Note: my Jeep is a commuter + family hauler car, no lift, and all suspension replacement has been “original ride” if you will.
My front and rears are original to the car on my 2004 Liberty. They’ve fallen apart and the rears literally crumbled all over the ground when I pulled em out lol. This took <10min for the front and about 30min for rear incl. hauling the jack outside.
The Mopar front bump stops are crazy expensive right now, $120 EACH on RockAuto. So I went w the ones everyone hates, Crown Automotive at $30 for the SET on AMZN. Could replace 8 times over for same price. The rears I grabbed the Mopar ones off RockAuto for $20 a piece (52088705AE).
Tools:
- jack
- jack stands
- screwdriver (flat or Phillips don’t matter)
- WD-40, Windex, etc. a lubricant
- your hands
Fronts:
1) Where car is parked (no need for jack), simply pull the old ones out. They might feel stuck but pull w your hand.
2) Install new ones. There are 4-6 grooves (see pics) that the bump stop is held onto. I sprayed this section of the new rubber w WD-40, got one side in w my hand, then using a screwdriver pressed in the remaining sections until it stuck. Done!
Rears:
1) Jack up vehicle under the rear axle pumpkin.
2) Set rear most section of frame rail, but before the rear lower control arms, on jack stands. *I didn’t drop the rear all the way down (like to the level needed to get the coil springs off), just enough I could push the new bump stop between the spring.
3) Pull the old one out w your hands.
4) Like the front, there are grooves that hold the stop in (see pics). Insert the new one after lubricating the sides of the flat end. Get a side in then push remaining w your screwdriver while twisting. I also used a small 2x4 to push up on the bottom of the bump stop while simultaneously pushing inwards w the screwdriver. You know it’s seated when you can rotate it 360 degrees in place.
Easy job. I had already done new Moog coil springs last fall, but this is a good project to knock that out at the same time (very easy). Good luck out there.
You must be registered for see images attach
You must be registered for see images attach
You must be registered for see images attach
You must be registered for see images attach
You must be registered for see images attach
You must be registered for see images attach
You must be registered for see images attach


