NJallDAY
Full Access Member
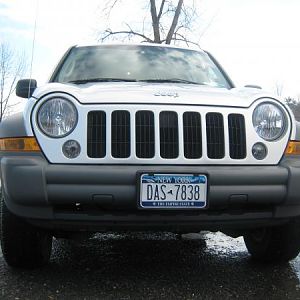
Are the rivets holding the fenders on prone to breaking during removal? I plan on taking all m plastics off tomorrow to coat them with bed liner and just want to make sure i know what im getting into lol


Disclaimer: Links on this page pointing to Amazon, eBay and other sites may include affiliate code. If you click them and make a purchase, we may earn a small commission.
Are the rivets holding the fenders on prone to breaking during removal? I plan on taking all m plastics off tomorrow to coat them with bed liner and just want to make sure i know what im getting into lol
Yea, I had a feeling that if I took mine off I would have a broken mess to deal with getting them back on, so I just taped everything off...I'm sure taking them off would have been better, but they still came out really well.
I think ill do the same. How much prep did you do? I have a palm sander im guna use, im just not sure how much scuff is enough
Im going to use the better of the duplicolors, i called the product suport and was told light scuffing should be ok. But the can say just make sure its clean. Gotta figure its adhering to clear coated paint on a new truck bed so as long as the plastic is clean i would think its the same concept. Although the phrase "i would think" has gotten me into some trouble before lol
Edit: and what about the bumpers? Are they fastened with screw or the smae rivets?
Same rivets on the bottom. Different type of rivet (the one's with the center core that you can pull out) on the top by the grille.
Another key tip is to make sure you keep a consistent distance between the spray nozzle and the object you are spraying.
Just keep practicing. Spray areas that you cannot see, like the bottom of your vehicle as an example; that way if you do get a run or sag you won't see it!
Before you know it you'll become really proficient at applying paints, clear coats, etc.
As far as now with what you've got, using a roller and wait until the paint is slightly tacky and then give it another slightly wet coat and you'll be able to hide all the imperfections.