eBay coil and strut spacers: part 2
BEFORE spacers
You must be registered for see images attach
AFTER spacers
You must be registered for see images attach
OK, unlike the 10 minute rears, there is no quick or easy way to do the front spacers. I slaved away for about 3 hours on and off as my kids were helping (distracting) me. After three hours front drivers side strut spacer is in and the entire drivers side is complete.
Get that popcorn out and enjoy my misery.
You must be registered for see images attach
Battery came out with 10mm bolts on terminals and 10mm battery holder bolt
Fuse box came out with 2 clips and slid up and out of the way
Battery tray was held in with two 13mm nuts and one 12mm nut
You must be registered for see images attach
4 18mm nuts hold the top of strut tower
You must be registered for see images attach
Poof, they are off.
You must be registered for see images attach
My first ray of happiness: seeing a gap between the top strut mount and body
You must be registered for see images attach
I was hoping that the strut would slide out without being removed from the clevis. I could have wiggled the spacer on top of the strut as is in this picture but ended up separating shock from clevis, 21mm bolt from what I remember.
You must be registered for see images attach
To an untrained eye, this may look like a tear in the outer CV boot, but to me it's continuous suspension component lubrication port, it also prevents the brakes from locking up, keeping this safety feature just the way it is.
You must be registered for see images attach
I have not done 60 KJ lifts not have I done 60 lifts or 6 but I expected the strut bolts to be too long for the spacer. Most important reason for completely removing the strut.
You must be registered for see images attach
Saw a video of a poor old man with a hack saw cutting the bolts down, bless his sole, diamond cut off wheel made short work of this and it took longer to tighten the nylon lock nuts than it was to cut the bolts.
You must be registered for see images attach
Now for the fun part, as I mentioned earlier I dislike struts and do not have the proper tools to work on them. So I do what any work out of your garage mechanic would do: medium duty canoe straps (cause I know the light duty ones will not hold, been there done that) and keep on tightening them until the spring compresses enough to line it up with the lower clevis bolt hole. I used another canoe strap to pull the clevis horizontally towards the bolt hole.
You must be registered for see images attach
Another view of the red canoe strap that pulled the clevis towards the passenger side.
So all ya'll hypothetical internet experts say anything about my use of ratchet straps do some research first. Lets start off with the compression rate of the strut coils: it's around 290# I am sure Tom will chime in with the exact per inch spring rate of every strut coil for every KJ ever made. Lets call it 300# per inch rate.
Now the orange ratchet straps. I am using 700# ratchet straps which means they are rated to carry a 700# load and a breaking strength around 2,000#. I am using two of them and lets call them 500# a strap. Multiply that by 2 and I am at 1,000# of ratchet strap pulling strength. I need to compress the shock about 2". So lets look at the actual numbers: 300# spring rate per inch over 2 inches is 600# of required spring compression. 1,000# of safe ratchet strap working limit, and this gives me a 400# safety margin, I will take that any day.
Oh yeah, I also disconnected the upper and lower ball joints to give me the lower control arm articulation I needed to get the clevis bolt in.
You must be registered for see images attach
It is in, it was painstaking and unpleasant, but it's in, just one more side to go (tomorrow).
You must be registered for see images attach
Another angle of the finished install.
You must be registered for see images attach
Another shot of the finished drivers side. It will settle after a couple lats around the yard. I will take the hub to fender and ground to fender measurements then.
Key take aways from the install.
I did not mention that I completely removed the front sway bar. I planned on removing it for both the weight savings and suspension articulation gain. Removing or disconnecting the sway bar gives the extra clearance to pull the clevis out.
Both upper and lower ball joints were removed to increase lower control arm articulation, it made re-installing the clevis possible. Couple strikes with a 3# ball peen hammer on the spindle and the ball joints pop right out of the spindle, do not need a fork or ball joint separator unless you do this for a living and need an excuse to charge your customers more for you labor and unnecessary tools.
All strut spacers are a PITA no matter if you have a Nissan, Toyota, BMW or Jeep.
Now that I have a feel for what and how this can be done I will try and setup a camera and shoot a video of the passenger side install.
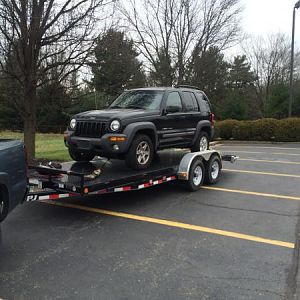
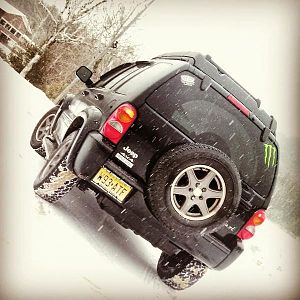
Here's a teaser for the rest of this weeks misadventures.
You must be registered for see images attach
Stay tuned for more shenanigans!


