ron.dittmer
Full Access Member
Hi All,
I haven't posted here in a very long time, but I just had to share this with you all.
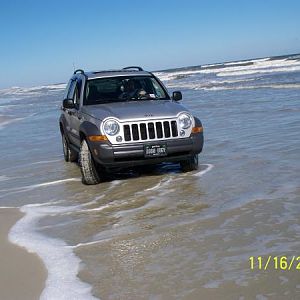
After 35 years of marriage, at age 54 my wife has finally experienced "love for a vehicle" for the first time with her 2006 Liberty Sport 4x4. She loves the rugged "Jeep" look with the raw gray plastic fenders. It is equipped with everything she wanted and more, except that is has a cloth interior. Over the years she always mentioned how nice it would have been if her Sport had a leather interior. So...
This past Christmas I bought her a leather seat skin kit for her Sport. It has "Jeep" embroidery on the front seat backs, and map pockets for the backs of the front seats. The leather kit I purchased is the same that was used for dealer-installed options back in 2006.
I am deep into the installation right now and have to say the project is not for the faint-of-heart. It is testing my patience, but it is not rocket science either. No sewing or special tools are required. Fortunately there is not hurry or I'd be loosing my mind.
The old cloth seat skins are almost like new so I hope to recover some of the expense by taking advantage of Ebay soon. I'll have to post some pictures of the final result. At the moment I have the rear 60/40 bench seat complete and in-process of tackling the front bucket seats. The fronts are less challenging....yes!
Ron Dittmer
2006 Jeep Libert Sport
Silver exterior with medium gray interior (was cloth, soon to be leather)
Last edited:


